 Generally speaking, when you think of concrete you don’t generally think of sleek and modern, but rather rough and un appealing to the eye. Some people may have already seen this recent trend that seems to be sweeping kitchen design, concrete kitchen countertops. If done correctly, concrete countertops give a very modern meets sleek industrial vibe and can create a fairly inexpensive new look to redo your kitchen, however, if not done properly you will simply create quite the mess that will be difficult to fix.
Related: 4 Steps to Redesigning a Small Kitchen
DIY Concrete Countertops
Step 1 Build your form: Use sturdy materials to build the form for your countertops, ensuring that any cut outs for sinks are reflected in your form. We recommend using melamine coated particle boards to build your form for affordability and because the concrete will not stick. Use painters tape to line all joints and then apply silicone caulk for a smooth finish.
Step 2 Add Reinforcements: Lightly coat the full form with olive oil to allow for an easier release and then use steel mesh to create a reinforcement in the middle of your form. To help keep the reinforcements suspended you can drill in screws through your form and attach the mesh via zip ties or some other form or sturdy wiring or tie. Another option would be to fill the form halfway, lay your steel mesh, and then fill to the top with the remaining concrete, although this option is not as popular.
Step 3 Mix your Concrete: For best results you can rent a concrete mixer to keep your concrete the perfect consistency. Make sure to follow the directions and mix your concrete according to the manufacturer’s instructions. You want to achieve a thick and non runny/watery appearance. If desired, you can add pigment to give your concrete more of a color or hue.
 Step 4 Pour the Concrete: Fill the mold completely and then use your choice of concrete tools to smooth the concrete evenly and fill the sides and corners. At this point you should cut and remove any ties holding your mesh reinforcement. Tap the sides often with a rubber mallet to help release any air bubbles and ensure that the concrete is filling every void within the form. Once you feel the form has been fully filled, focus on smoothening the top of the form, you can use a trowler, wood float, etc.
Related: 5 Tips on Living in Your Home While You’re Remodeling
Step 5 Removing the form: Allow ample time for your concrete to dry, the longer the better! We are talking days to even weeks. Once you’re ready, carefully remove the form. It is normal to have a few air bubbles or small cracks, you can either leave these if you like the look, or use a concrete patch kit to repair any areas that might not be “perfect.” Make sure to sand down any patches as needed.
Step 6 Wrap it up: Now that the form is removed and patches are patched, you’re ready to clean, seal and install. Do a very thorough cleaning of the concrete, allow to fully dry, and then apply either a concrete sealer or a food safe polyurethane to give your concrete a nice finish!
You’ve done it, your very own DIY concrete countertops. If you want to test your skills before taking on a full kitchen or bathroom, try making a small form as a tester, follow the same steps, and see how your test piece turns out, make any necessary adjustments, and then when you feel ready, take on a bigger project.
For more renovation and DIY ideas, feel free to visit our blog or, if you have questions regarding an upcoming project, we would love to set up a free consultation.
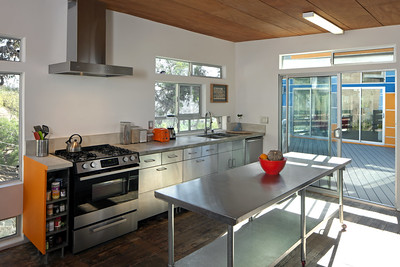
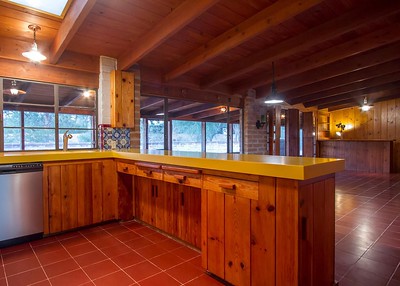
Image by Jeremy Levine & RegulusAlpha